
Getting Your Sidel Matrix Heating Just Right
When it comes to replacing lamps in a Sidel Matrix, “close enough” usually isn’t. If your replacement bulb is off by just a tiny bit—maybe a slight tweak in voltage or a millimeter in length—you’re going to see it in your bottles. You’ll get uneven walls or that annoying pearlescent haze that makes a batch look cheap. It’s all about the heat hitting the plastic exactly how it’s supposed to.
Why the Specs Actually Matter
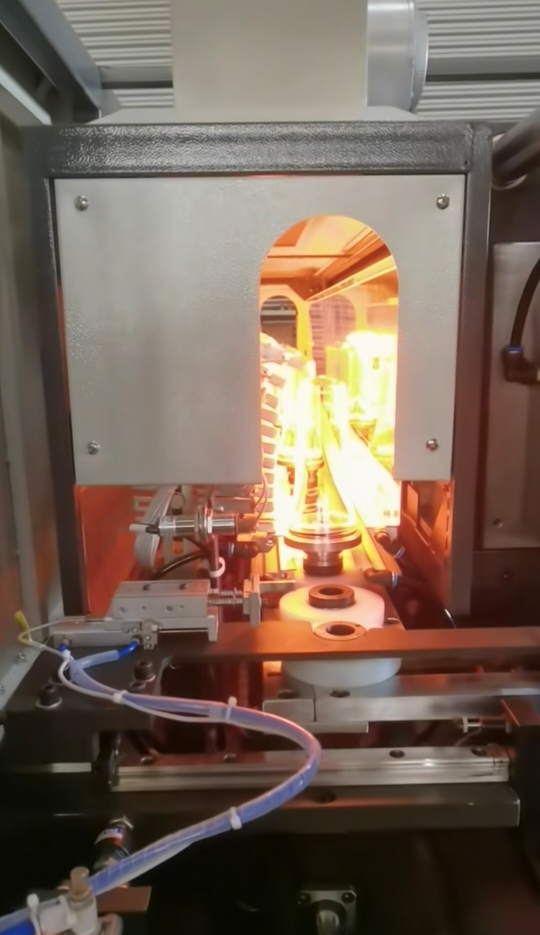
We make our heating bulbs to mirror the original Sidel specs. Period. We focus on the wattage per millimeter so that when you slide our lamps into the oven, the power stays consistent across the whole zone. We use high-purity quartz glass for a reason. It lets that shortwave infrared radiation soak into the PET preform at the exact same speed as the factory bulbs. The best part? You don’t have to mess with your PLC settings or spend hours rewriting your heating profiles. You just pop them in and get back to work.
Under the Hood
Inside the bulb, we use a halogen gas fill. This stops the tungsten filament from evaporating too fast, which keeps the glass clear and the heat steady for thousands of hours. We also stick to standard industrial connectors. It sounds simple, but a loose connection is a nightmare—it creates a hot spot that can literally melt your socket. One quick tip: these tubes put out a massive amount of heat. Make sure your cooling blowers are clean and actually moving air. If the airflow is blocked, even a perfect lamp can overheat, and you’ll burn through your filaments way faster than you should.
Making it Work on the Floor
Swapping these out is a breeze. We build them to the exact millimeter so they slide into the reflectors without any shoving or forcing. That’s important because quartz is fragile; one wrong move and you’ve got a stress fracture. Since the electrical footprint is the same as the original, you don’t need to call in an electrician to change the wiring or mess with the ballasts. It just works.